Create Business Users
The Business Users tab shows a business user or a list of business users associated with a company. Other business users are those users who are not customers of the banks but have access to business accounts on account of customers delegating access to business accounts. The User details, Role, Username, Status, and Email are shown for every business user associated with the company.
The Create Associated Business User button is shown within the Business User tab. The button will be shown on the center of the page if no business user is created yet. However, if there is already a business user associated with an account, the create button will be shown on the right side of the page.
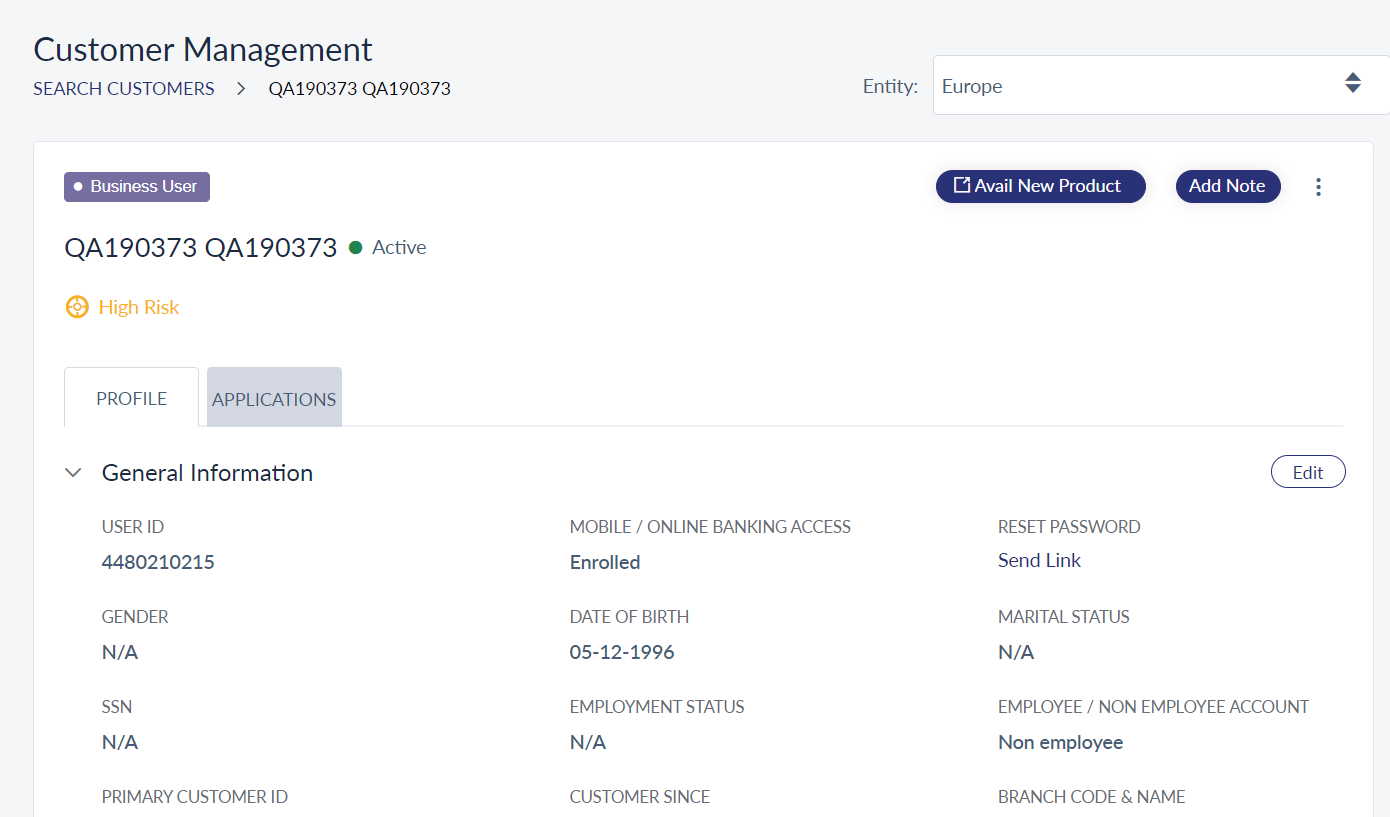
Add a Business User
Use the feature to create an internal business user for a company and assign a role and permissions.
To add a business user, the information needs to be provided for six different sections. They are:
- Customer Details
- Account Access
- Assign Role
- Account Level Features and Actions
- Other Features and Actions
- Assign Limits
Providing information on Account Level Features and Actions, Other Features and Actions, and Assign Limits is optional, since these are populated by default values which you can change if required.
Customer Details
The Customer Details page is shown when Create Associated Business User button is clicked.
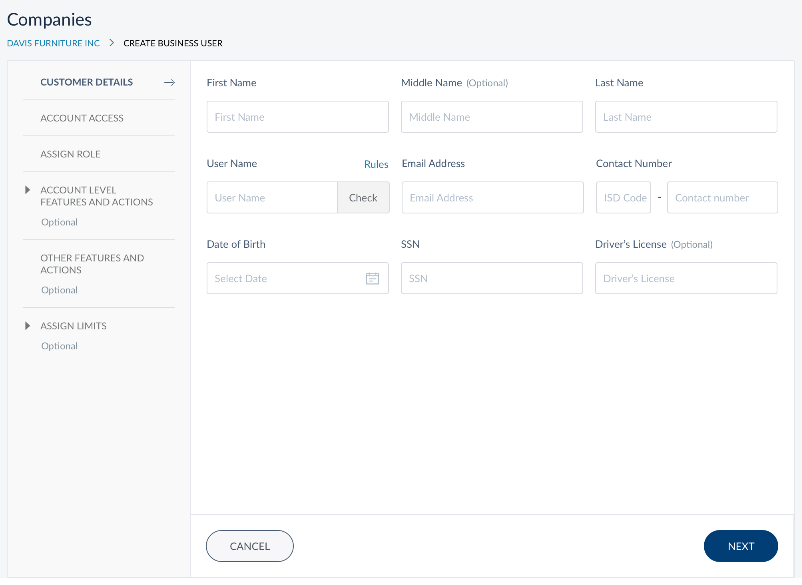
The information for the following fields needs to be given:
- First Name. Enter the first name of the business user. It is mandatory.
- Middle Name. Enter the middle name of the business user. It is optional.
- Last name. Enter the last name of the business user. It is mandatory.
- User Name. Enter the user name for the business user. User name will be used by the business user to log in to the banking application. Click Check to validate the given user name against all other user names. If the status of the validation is Available, then you can assign the username for the new business user, else you have to change the username and check the availability again. It is mandatory.
- Email ID. Enter the business user's email ID. It is mandatory.
- Contact Number. Enter the business user's phone number. It is mandatory.
- Date of Birth. Enter the date of birth of the business user. It is mandatory.
- SSN. Enter the business users SSN. It is mandatory.
- Driver's License. Enter the business user's driver license number. It is optional.
Click Next. The application displays the account access page.
While creating a business user, ensure the user is 18 years and above.
Account Access
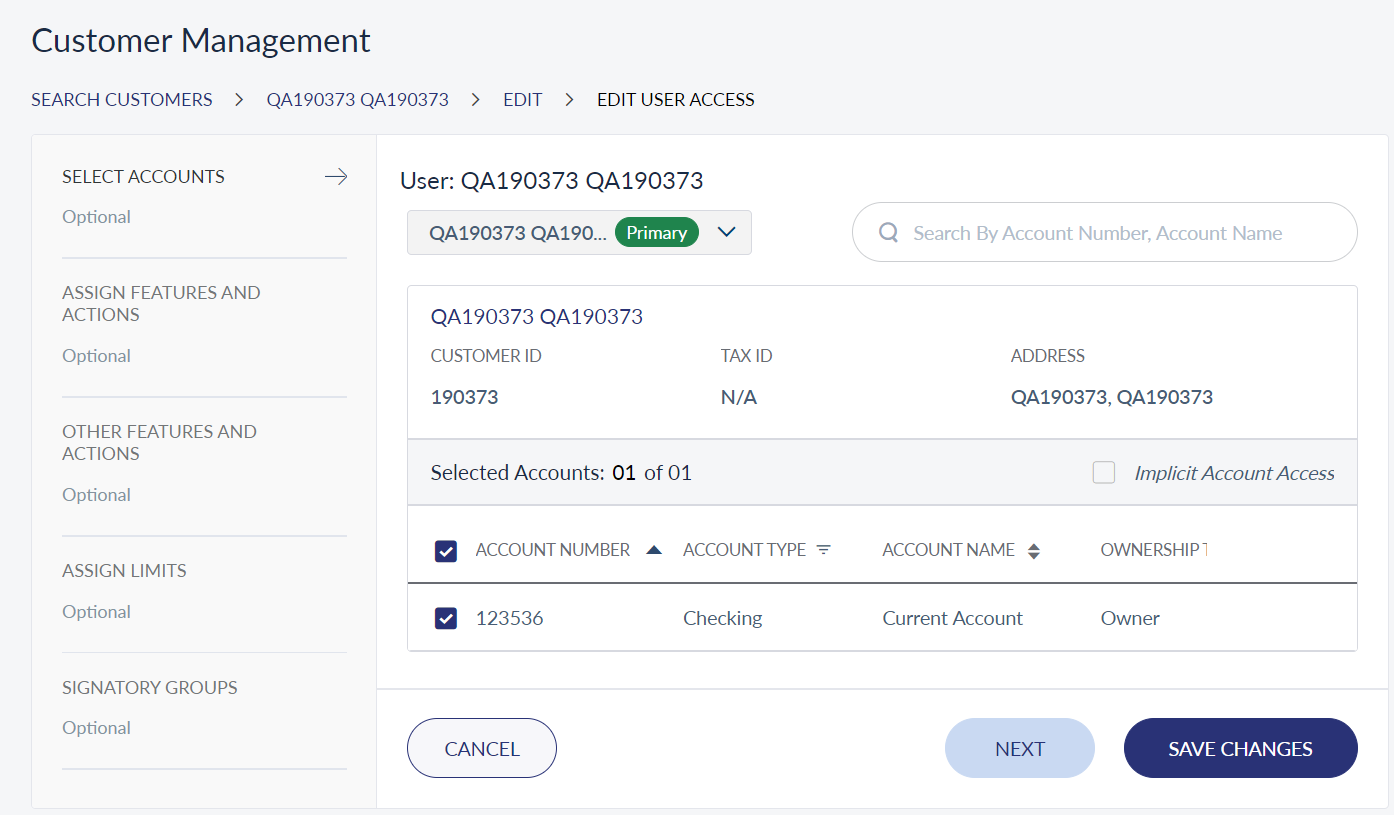
Depending on the type of core (customer centric or account centric), you can search for accounts that you want the Business User to have access. If you have customer centric core, you can search for the accounts using Customer ID. If you have account centric core, you can search for the accounts using Account Numbers.
Click Add on the required accounts to add to the Selected Accounts section. The user will be able to access (view / operate) only the selected accounts when they log in to the application. Click Next. The application displays the page where you can specify the business user role.
Assign Role
The business user role page displays the list of available roles. There are three pre-defined roles available, which are as follow:
- Administrator
- Authorizer
- Creator
- Viewer
Select the required role you want to assign to the business user.
As the remaining sections are optional, you can click Create User to create the authorized signatory or click Next to configure account level features and actions. If you click Create User, the default limits prescribed by the Financial Institution is set in the to the features in the remaining section.
Account Level Features and Actions
The Account Level Features and Actions page shows the features applicable to the selected account type and the actions associated with it. A feature is a banking service which bundles a set of actions that can performed by a bank customer. For example, the funds transfer feature defines the types of fund transfer can be done such as, domestic fund transfers, intra-bank accounts fund transfers, international funds transfers and so on.
From the list of features displayed for an account, the user not only can select the required features but also pick and choose actions associated with them. Click the View Details option displayed below a feature name. It shows a list of actions, check the boxes shown against each action. For features involving transactions or bill payments, you can also define the transaction limits for the selected actions. Selecting actions associated with a feature is possible only after adding the feature.
Other Features and Actions
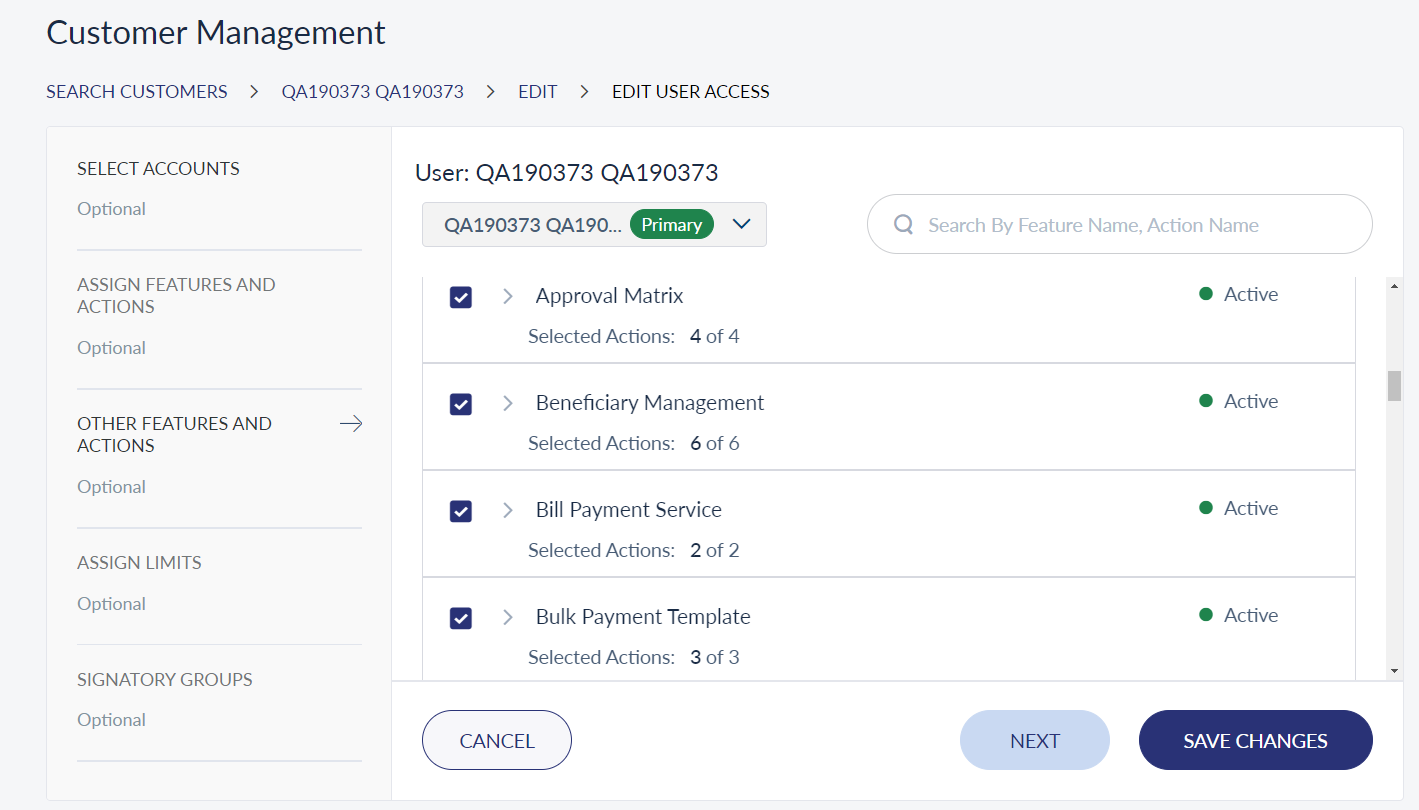
Other Features and Actions page displays the features that may not be directly applicable to an account. Similar to the Account Level Features and Actions, the user can select a feature and further pick and choose actions associated with a feature. Selecting actions associated with a feature is possible only after adding the feature.
Assign Limits
Assigning transactions limit for a business user is an optional action for adding a company account. Based on the selected role, the application displays the banking services applicable for the role in the transaction limits page. Here, you can assign the transaction limit per transaction, and for daily and weekly transactions for the business user, for every permissible service.
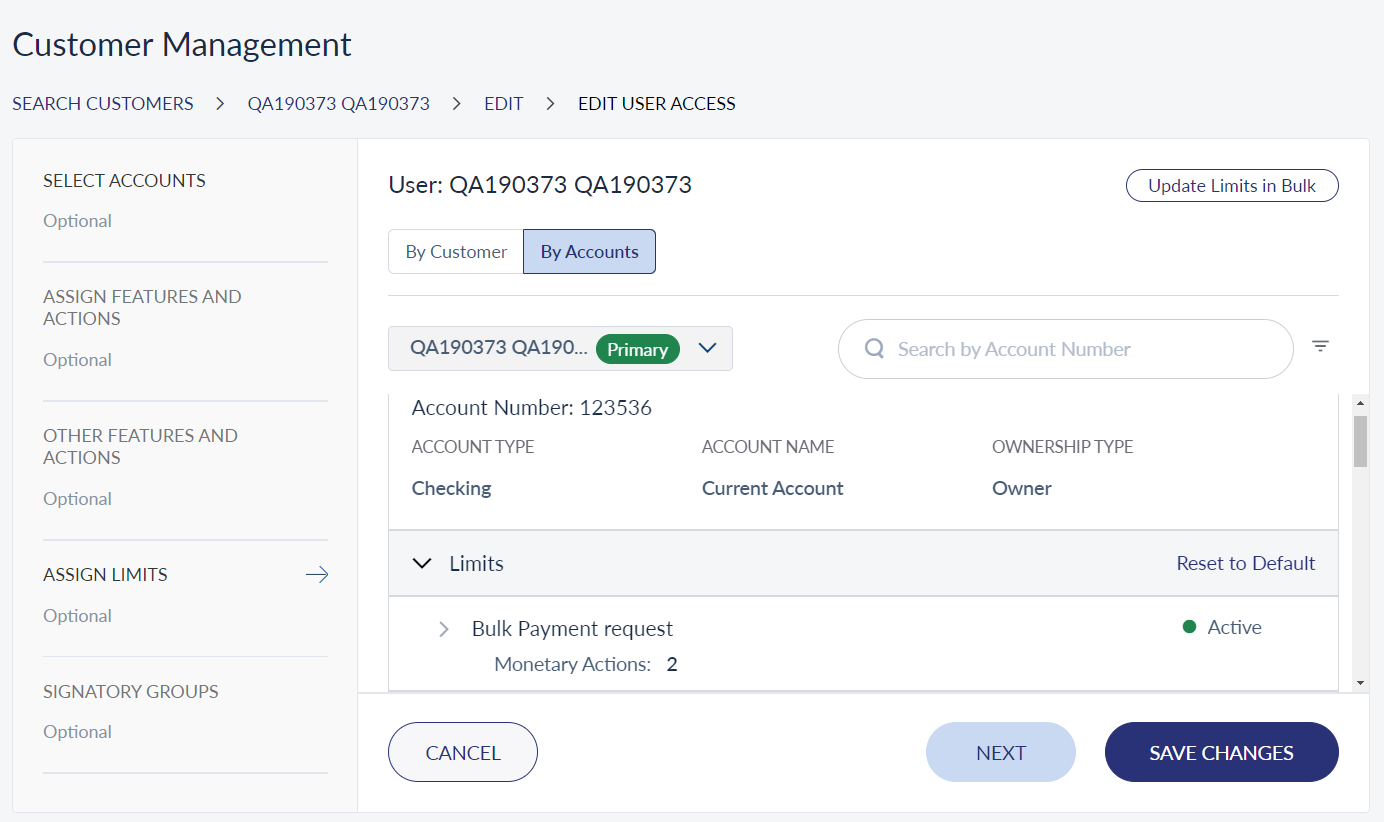
Once you set the transaction limits, the business user can initiate a transaction of the value which is less than or equal to the max transaction limit. If the value exceeds the max transaction value, the application will not execute the transaction or the transaction is put into the approval queue with status as "Pending Approval". The application checks the max transaction limit for recurring, non-recurring, non-scheduled, and scheduled transactions.
You can set the transaction limits for monetary actions.
The application checks the transactions initiated for all the services mentioned earlier.
After you set the max daily limit value for each service, the business user can initiate a transaction for any service of a value within the daily limit balance available on the transaction execution date. The transaction execution date can be a current date or a future date. The app calculates the available daily limit balance for each date type as follows:
- Current date: Deducts all awaiting scheduled transactions, and all the transactions executed successfully on current date from the max daily limit.
- Future date: Deducts all awaiting scheduled transactions on the said date from the max daily limit.
If the value exceeds the max daily limit, the app will not execute the transaction or the transaction is put into the approval queue with status as "Pending Approval".
Click Create. The new business user is added to the business users list and an activation mail is sent to the business user's email ID.
Edit Business User
Use the feature to edit the details of the required business user. Click the contextual menu of a business user and select Edit. The application displays the Customer Details page for editing. The editable sub tabs - Account Access, Assign Role, Account Level Features and Actions, Other Features and Actions, and Assign Limits - are shown on the left side of the screen. Select a sub tab which needs to be modified and click Next / Update to save the changed information.
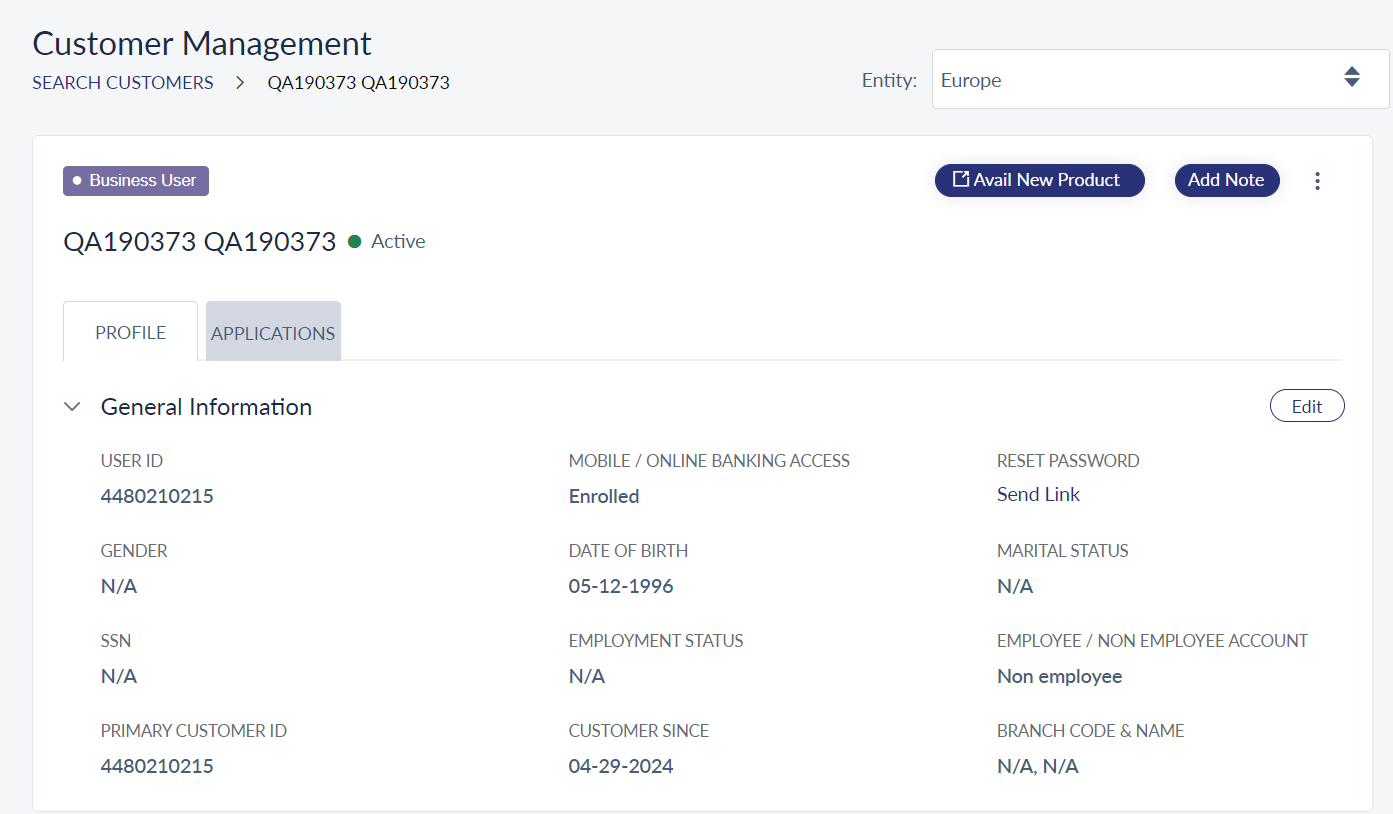
Click on the required business user if you want to add address details or view all additional information like roles, activity history, and more. The application displays the Customer Management page.
In this topic